Introduction
Structuring data is a method to organize and classify the content to a level of detail for general usage. Structured data comes in predefined lengths and formats. The organized and specific nature of structured data makes it efficient in storage and retrieval.
For example, e-commerce applications have their data in the form of a product catalog in a JavaScriptObject Notation (JSON) or a Comma-separated Value (CSV) format. The product details such as product name, price, color, description, etc., are stored in the form of structured data.
SearchAssist allows the usage of structured data as a Content source.
To add structured data, take the following steps:
- Click the Sources tab on the top.
- On the left pane, click Structured Data.
- On the Structured Data page, click + Add Data. You can add data in two ways:
- Import Data
- Add Manually
Note: To use the content for querying from structured data in CSV or JSON formats the corresponding fields have to be manually added and mapped in the Weights of Search Configuration.
Importing Structured Data from Files
Use the import option if you have the data in a specific structured data format namely in JSON or CSV formats. To import Structured Data, take the following steps:
- On the Structured Data page, click + Add Data and select Import Data from the dropdown.
- In the Import Structured Data dialog box, upload a JSON or CSV file. Click Browse to locate the file or drag and drop the file. Also, there is an option to download and view the sample CSV or JSON file on the upper-right.
- Click Proceed.
- A dialog box with the validation status is displayed.
- Click OK.
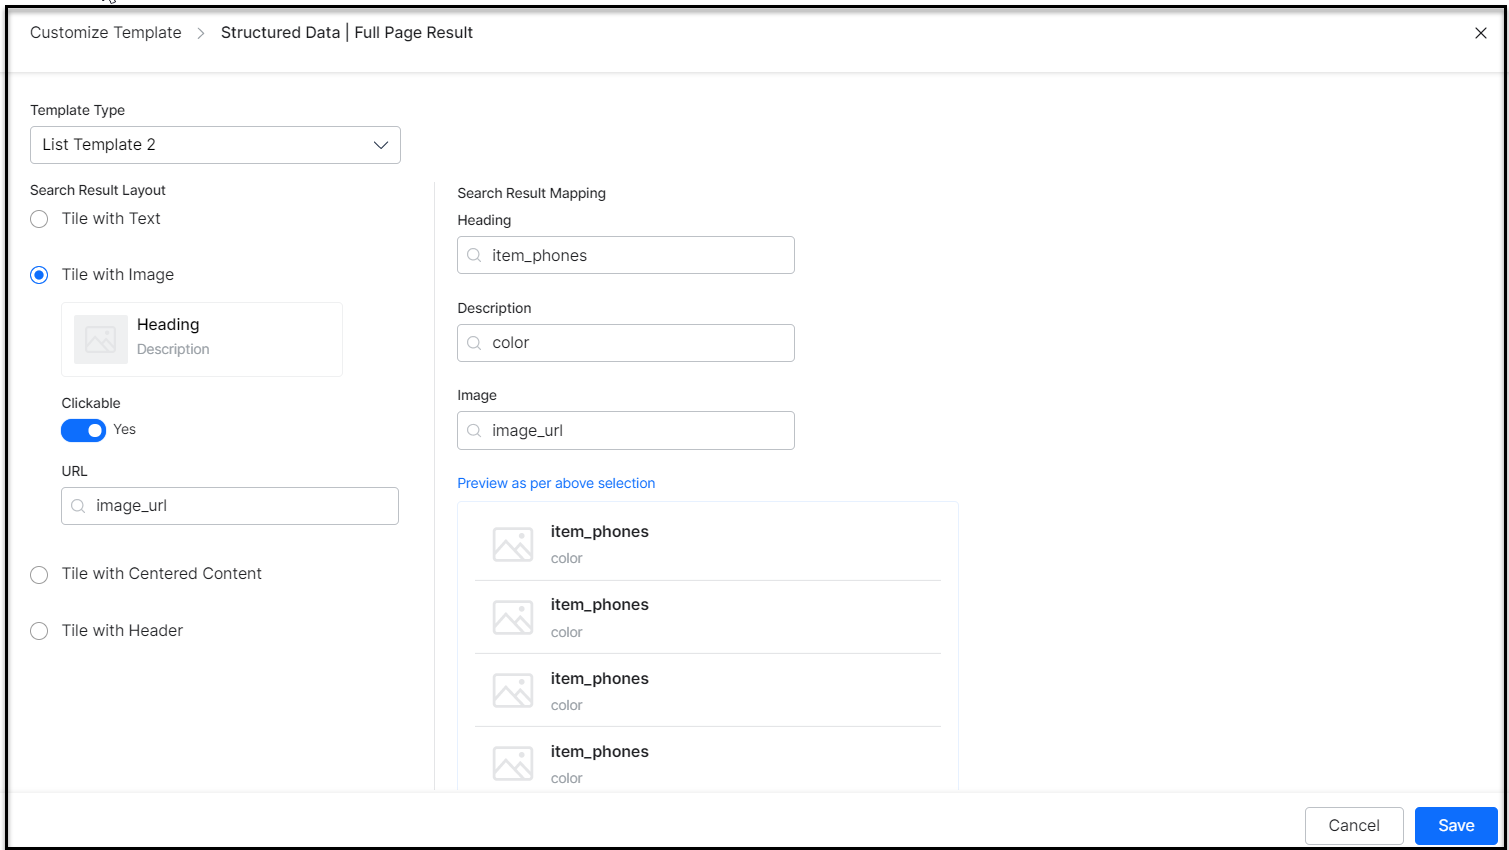
After importing, to obtain results from the structured data you have to customize the Results data in the Results Template to include those fields. The field names to be added in the index configuration must exactly match the “key” values, and they are case sensitive.

Manually Adding Structured Data
To add one or more items to an imported catalogue use the Add Manually option. To add Structured Data manually, take the following steps:
- On the Structured Data page, click + Add Data and select Add Manually from the dropdown.

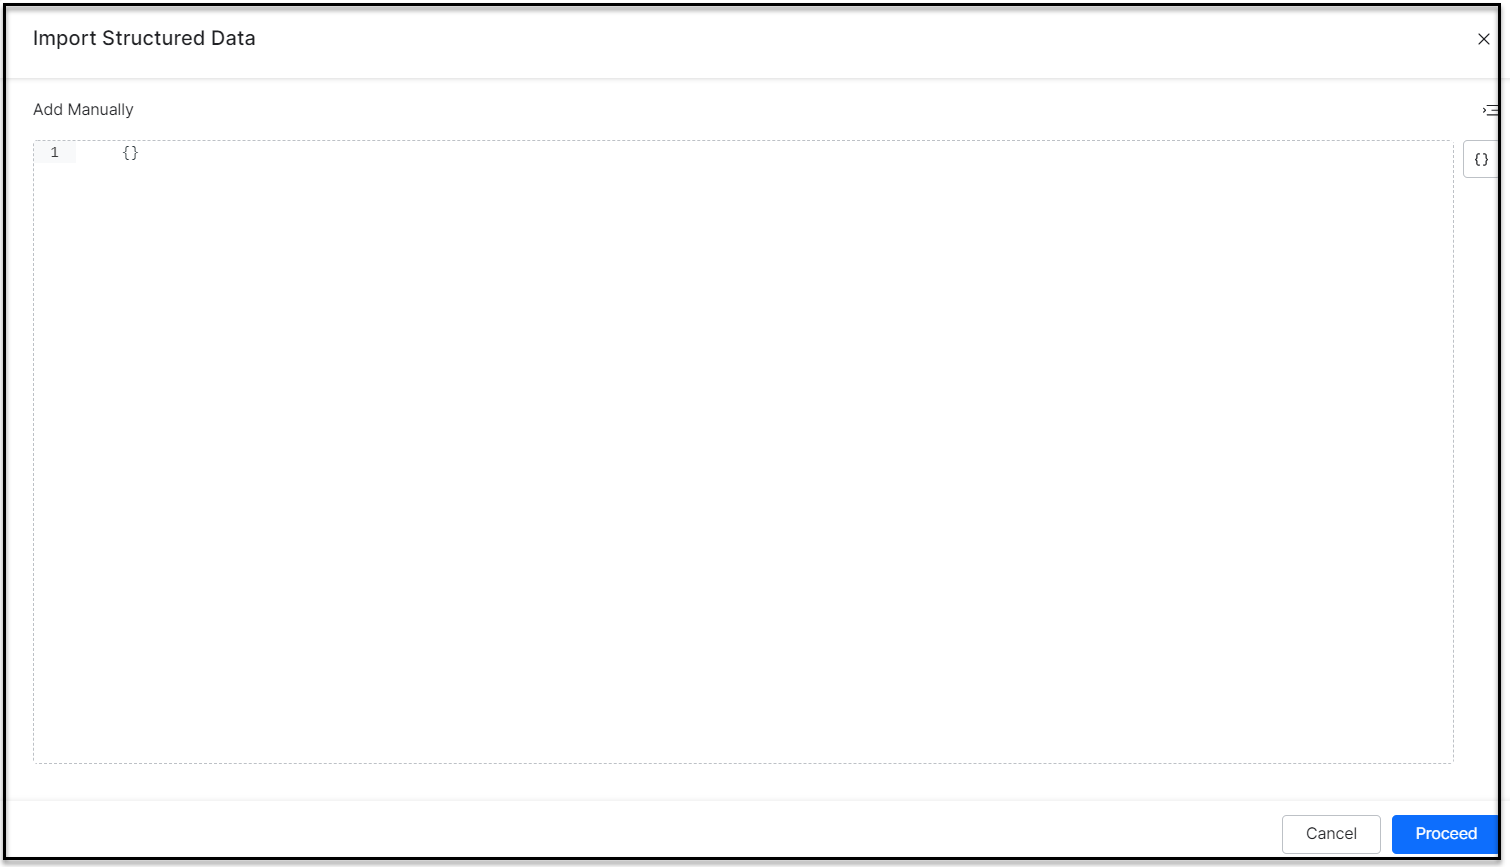
- On the Add Manually dialog box, enter the code. For sample JSON code, click the {} icon on top-right. See the following details.
- Use the Indent option to let the application indent the code for you.

- Click Proceed.

Sample Files
JSON
{
“firstName”: “Rack”,
“lastName”: “jackson”,
“gender”: “man”,
“age”: 24,
“address”: {
“streetAddress”: “126 Udhna”,
“city”: “san jone”,
“state”: “CA”,
“postalCode”: “394221”
},
“phoneNumbers”: [
{ “type”: “home”, “number”: “7383627627” }
]
}
CSV
1,”Eldon Base for stackable storage shelf, platinum”,Muhammed MacIntyre,3,-213.25,38.94,35,Nunavut,Storage & Organization,0.8
2,”1.7 Cubic Foot Compact “”Cube”” Office Refrigerators”,Barry French,293,457.81,208.16,68.02,Nunavut,Appliances,0.58
3,”Cardinal Slant-D Ring Binder, Heavy Gauge Vinyl”,Barry French,293,46.71,8.69,2.99,Nunavut,Binders and Binder Accessories,0.39
4,R380,Clay Rozendal,483,1198.97,195.99,3.99,Nunavut,Telephones and Communication,0.58
5,Holmes HEPA Air Purifier,Carlos Soltero,515,30.94,21.78,5.94,Nunavut,Appliances,0.5
6,G.E. Longer-Life Indoor Recessed Floodlight Bulbs,Carlos Soltero,515,4.43,6.64,4.95,Nunavut,Office Furnishings,0.37
7,”Angle-D Binders with Locking Rings, Label Holders”,Carl Jackson,613,-54.04,7.3,7.72,Nunavut,Binders and Binder Accessories,0.38
8,”SAFCO Mobile Desk Side File, Wire Frame”,Carl Jackson,613,127.70,42.76,6.22,Nunavut,Storage & Organization,
9,”SAFCO Commercial Wire Shelving, Black”,Monica Federle,643,-695.26,138.14,35,Nunavut,Storage & Organization,
10,Xerox 198,Dorothy Badders,678,-226.36,4.98,8.33,Nunavut,Paper,0.38
Managing Structured Data
After you add or import the structured data you can perform the following actions:
- Search for a data record with a specific value.
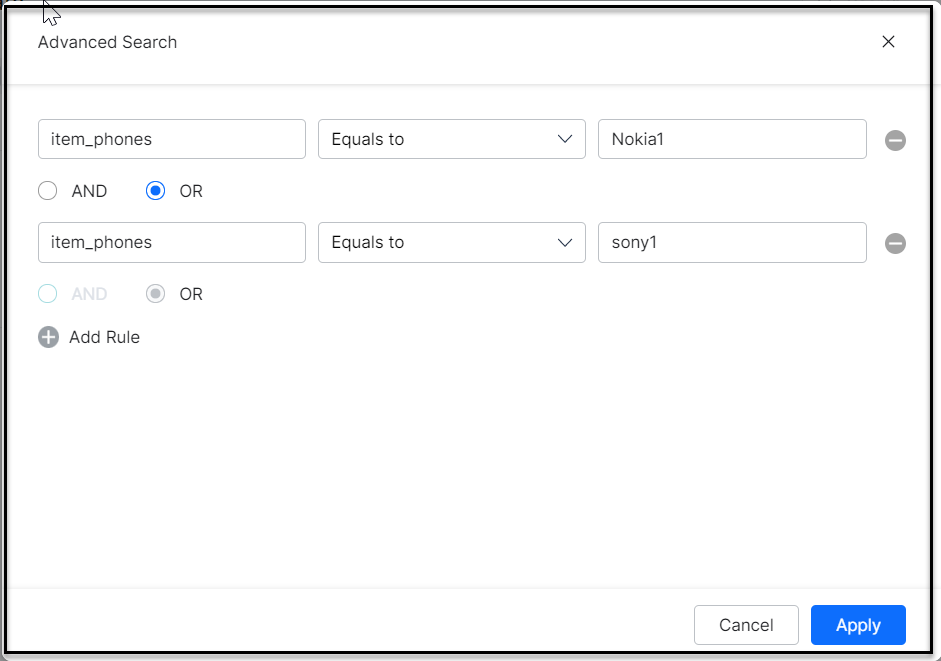
- Filter the list using the Advanced Search to include multiple rules joined by AND or OR connectors.

- Edit a specific data record.
- Delete a specific data record or select multiple data records and delete them in bulk.
- View the last updated timestamp and user details.