
Overview
This section summarizes the activities centered around your Search Assistants from creating through maintenance of the Search Assistants. The Manage tab allows you to configure the general settings, and manage the team pertaining to the Search Assistant.
Generate credentials and deploy the Search Assistant in your preferred channel. It allows you to monitor the usage, billing matters, and selection of rate plans for the Search Assistant variants.
General Settings
General Settings involve configuring or managing the Search Assistant settings. For more information, refer to Configuring General Settings.
Managing Roles
Team allows you to Manage helps your team members who collaborate w.r.t the building and maintaining the Search Assistant. For more information, refer to Managing Roles.
Deploying Search Assistant
Deployment refers to launching or publishing the Search Assistant configuration in the channel required. This involves Adding credentials and Activating channels.
Refer Developer’s Guide for Web SDK and API Documentation
Usage and Billing
From the Usage & Billing, you can see the usage details and the various pricing options to choose one from that is appropriate for your business needs. Refer Monitoring Usage and Billing.
Configuring General Settings
General Settings involve configuring or managing settings at the Search Assistant level.
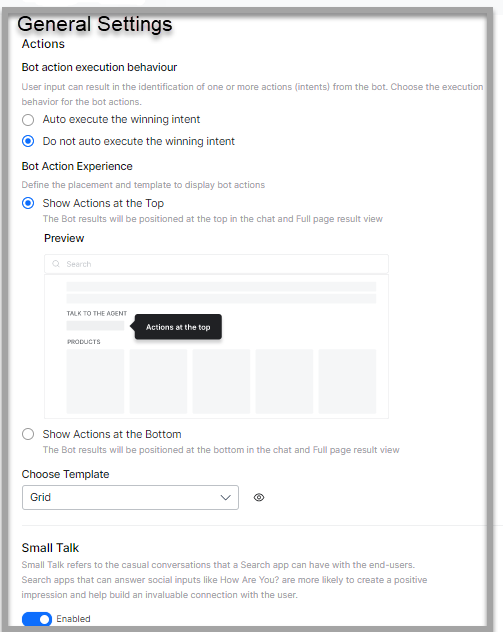
Actions
As we have seen in search result configuration you cannot configure the results from actions of a virtual assistant. The Virtual Assistant actions are listed in a default tile with header format. SearchAssist allows you to configure where the Virtual Assistant Action results can be displayed.
The Actions option allows you to display the Virtual Assistant actions at the top or at the bottom in the search result.
This option is available only if you have linked a Virtual Assistant as described in the Linking your Virtual Assistant source, else use the option to link a bot.
To configure bot actions in a search result, take the following steps:
- Click the Manage tab on the top.
- By default, the General Settings page is displayed.

- Under the Actions section, choose the position of the bot action results:
- Do not execute the winning intent
- Show Actions at the Top
- Show Actions at the Bottom
Adding Search Assistant Credentials
SearchAssist allows you to create credentials to configure channels and API scopes. Use the credentials created in the <SDK config.file> for the SDK to interact with the Search Assistant.
To add credentials, take the following steps:
- On the landing page, click the Manage tab on the top.
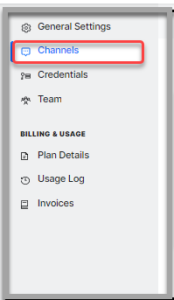
- By default, the General Settings page is displayed. On the left pane, click Credentials.
- You will find the Search Assistants you created listed here. You can also create a new credential.
- On the Manage Credentials page, click + Add Credential on the upper-right.

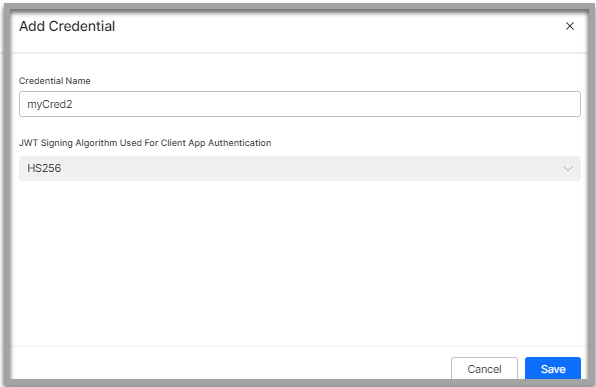
- On the Add Credential dialog box:
- Enter a name in the Credential Name field
- Select a signing algorithm from the JWT Signing Algorithm Used For Client App Authentication dropdown list

- Click Save.

To delete a credential, take the following steps:
- On the Manage Credentials page, click the delete icon on the respective credential
- On the Delete Credential dialog box, click Delete
Note: You can’t delete a credential if it’s associated with a channel.
Adding Channels
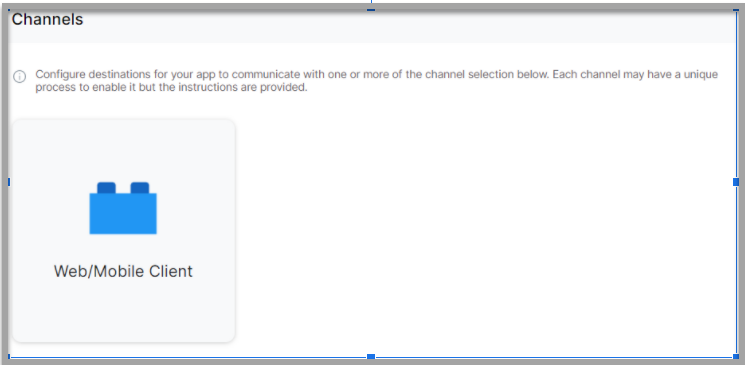
A channel is a connection between communication applications and Search Assistants. In SearchAssist, you can configure destinations for your Search Assistant to communicate with one or more channels.
Currently, SearchAssist allows you to configure channels only through Web/Mobile Client.
To add channels, take the following steps:
- On the landing page, click the Manage tab on the top
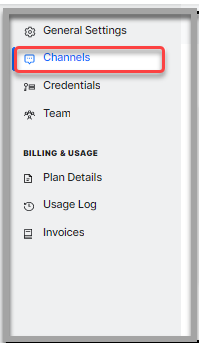
- By default, the General Settings page is displayed. On the left pane, click Channels
- On the Channels page, click the Web/Mobile Client card

- On the Web/Mobile Client’s Instructions page, find the instructions displayed in four steps:
- Register Credential to create a credential or register an existing credential
- Define Callback URL of your credential that invokes the SearchAssistKit SDK events
- Select Events required and complete the setup process
- Click Continue
- On the Web/Mobile Client’s Select Credential page, you can
- Select an existing credential, or
- Add New Credential
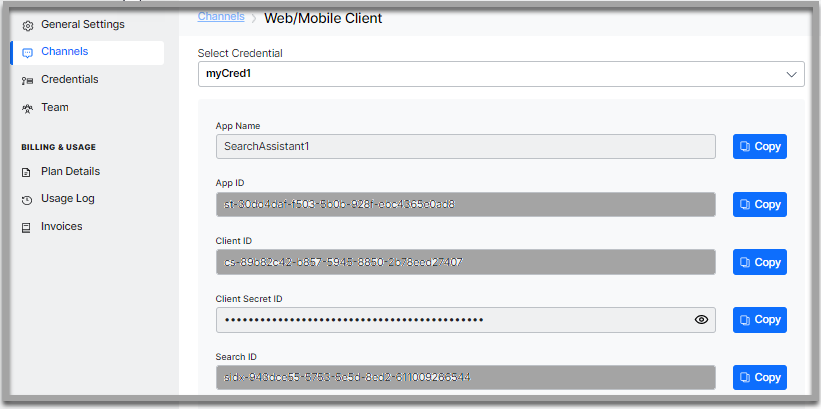
- On the Web/Mobile Client’s Generate Token page, you can find the Search Assistant details:

App ID, Client ID, and Client Secret ID are auto-generated. -
- Under the Allow Alert Task Setup section, select any of the following options:
- Yes, let users set up alert tasks using the web client
- No, do not list alert tasks or allow users to set up alert tasks using the web client
- By default, the Channel Enabled toggle is turned on
- Under the Allow Alert Task Setup section, select any of the following options:
- Click Save
Managing Channels
You can deactivate or delete the channel configurations. To disable or delete the configurations, take the following steps:
- On the landing page, click the Manage tab on the top.
- By default, the General Settings page is displayed. On the left pane, click Channels.
- On the Channels page, click the vertical ellipsis icon on the Web/Mobile Client block.
Select Disable to disable the channel configuration or Delete to delete the channel configuration.
Viewing Usage and Billing
When you sign up as a new user to the SearchAssist platform, you are added to the free subscription plan. You can continue with the free subscription or upgrade to a paid plan of your choice. On the landing page, you will be given an option to Upgrade Your Plan along with the usage details like document and query counts reached against the given limits.
The Usage & Billing section of the Search Assistant gives you the usage details and options to subscribe to or upgrade a plan. From this section, see the usage details as consumed and various pricing options therein. Choose the appropriate plan that suits your business needs.
Subscription Plan Options

From this section:
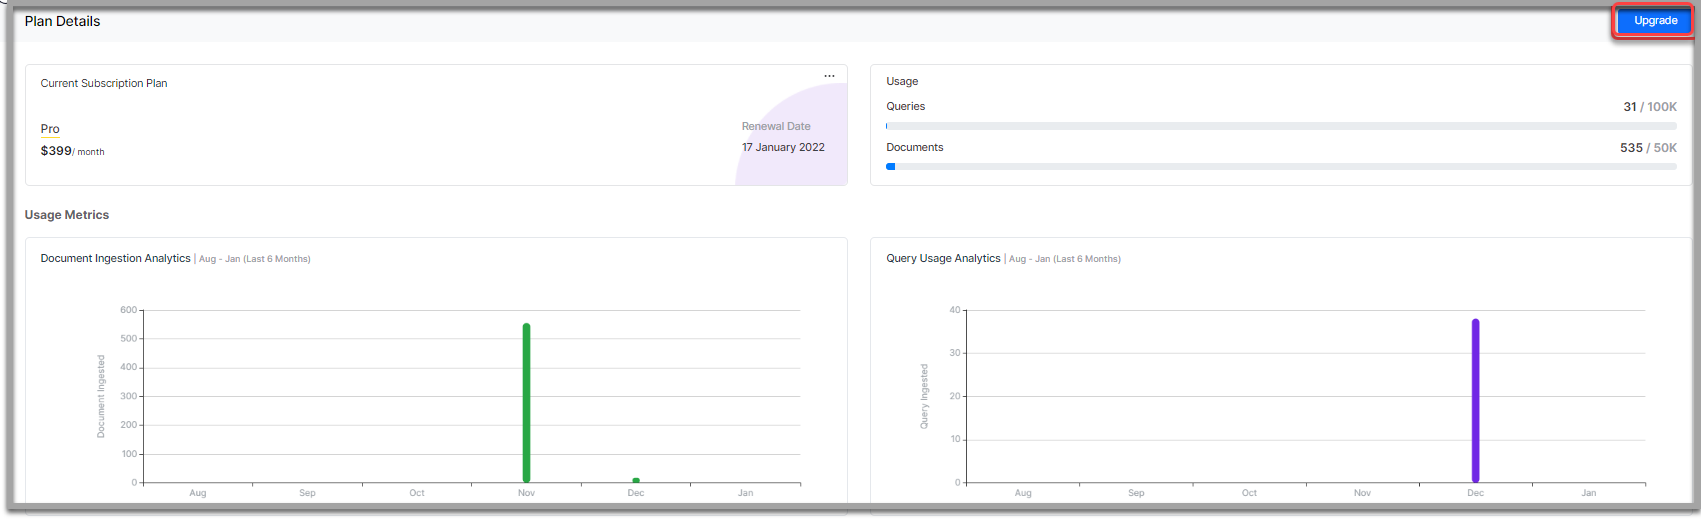
- View the current subscription plan along with the Renewal Date
- You can:
- Add Overage: add document & query overage if the number of queries or documents allotted in the plan is reaching its maximum limit
- Change Plan: You can downgrade or upgrade a plan. In case of a downgrade, delete all the documents and indices that exceed the limit. The Rules, Index stages, Experiments that exceed the limit need to be deleted if any
- Cancel Subscription: cancel the subscription any time, but requests in the middle of a billing cycle will be honored only at the end of that billing cycle
- If you are within the free trial period, you will be able to select a plan in a monthly or an annual subscription. You can also compare the features and pricings of all the available plans before choosing a plan
- The Usage section gives you an overview of the query and document usage. Add document & query overage if the number of queries or documents allotted in the plan is reaching the allowed maximum limit for that plan
- Usage Metrics:
- Document Ingestion Analytics detailing the documents ingested in last 6 months, Query Usage in last 6 months
- Query Usage Analytics with a list of all the queries that were performed in the billing cycle, query types, channel in which the query was performed, whether the query reverted any results, and the date & time of the query
Usage Log: once the Search Assistant is active or gone live, a usage log will be generated from the live usage data.
Usage Log gives you a list of all the search queries made along with the details like:
- Search Query
- Type of query, whether it was a search query, picked from live search, or based on suggestions
- Results were displayed or the query yielded in no result
- Date & Time when the query was posed by the user
You have the options to get more granular usage metrics:
- Search for a specific query
- Download the logs
- Sort on type, results, or date & time
- Filter on type and results
Invoices
Once you subscribe to a plan, view the invoices here.
You can view:
- Invoice ID
- Billing Period
- Invoice Amount
- Subscription Type :Annual or Monthly
- Invoice Date
You can:
- Search for a specific invoice
- Sort by Invoice Date
- For each invoice, Download the specific invoice
High-level Prerequisites and Best practices
You can design different Search Assistants for various environments, business purposes, regions, etc. When your Search Assistant runs in different environments, it can use different sets of data and configurations.
For example, when you run your Search Assistant on a staging website, map it to use test data instead of production data. When you work on a staging version of your website, avoid hitting your own production index for privacy concerns and to prevent viewing skewed analytics.
There are two ways to split your search implementation for each environment:
- Separate your environments into different indices on the same Search Assistant.
- Create several Search Assistants, and use a dedicated one for an environment.
Take the best suited approach depending on the isolation level you need between the environments.
Best Practices
To maximize value from SearchAssist the following Content preparation steps are recommended:
- FAQs well organized and clear mapping to multiple questions to unique answers
- Permissions to crawl (robot.txt)