Chat Widget Personalization
To modify the overall look, icons and colors of the chat widget an agent is working on, follow these steps:
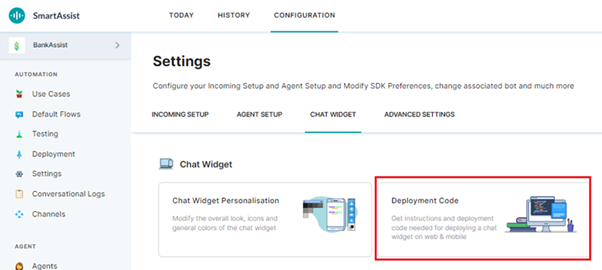
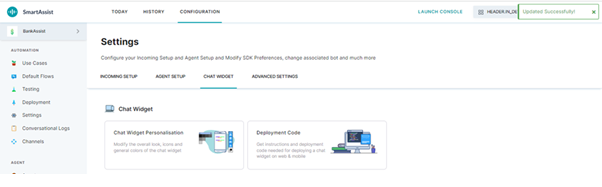
1. Navigate to Configuration > Settings > Chat Widget, and click the Chat Widget Personalisation tile.

2. In the Chat Widget Personalisation window, you can configure the following:
General Settings
This option lets you set the widget theme and text font. To configure them, follow these steps:
- Select an option for Theme from the dropdown list to set the widget theme.
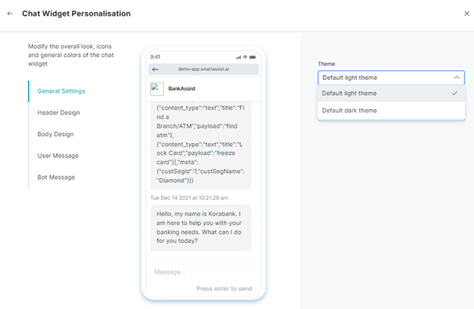
- Select an option for Font from the dropdown list to set the text font. The available options include:
- Arial
- Inter
- Lato
- Sans

Header Design
This option lets you change the widget’s header appearance. To configure the various options, follow these steps:
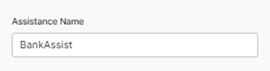
1. Type in the value for Assistance Name.
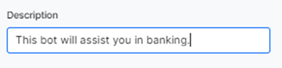
2. Type the text for Description.
3. Click Upload and select an image (.PNG file) to set the logo.
![]()
![]()
4. A success confirmation appears when the image is uploaded.
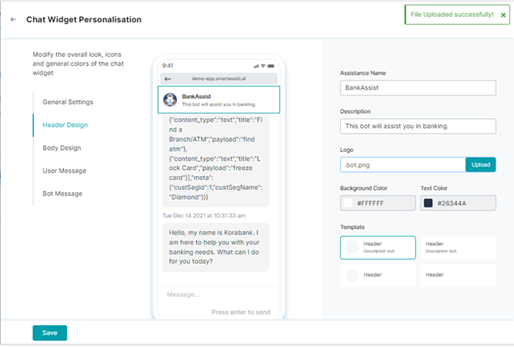
5. Select the colors for Background and Text from their respective selection panels, and click Apply.
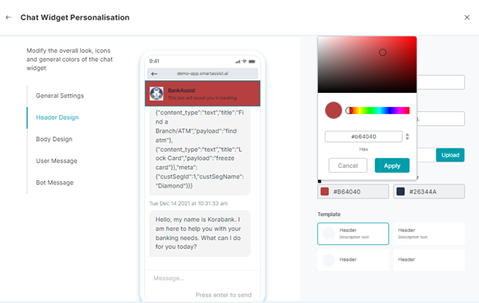
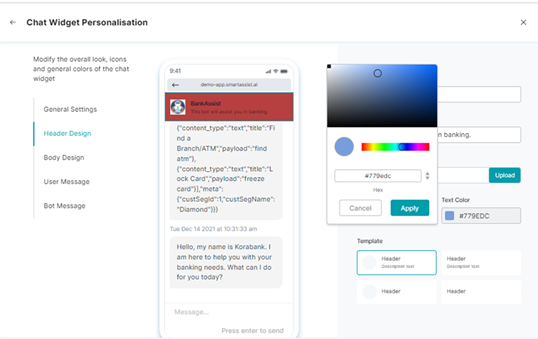
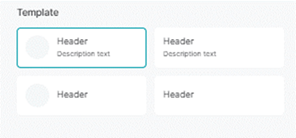
6. Select an option for Template to set the header and text appearance.

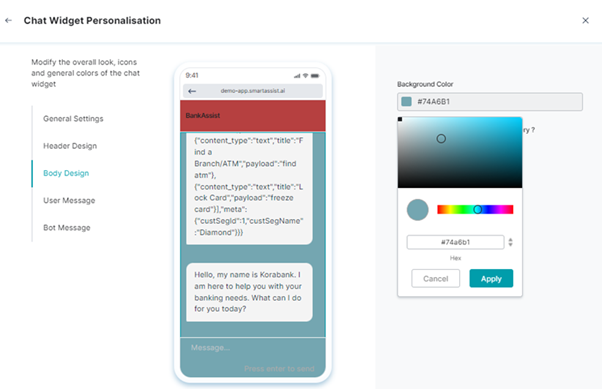
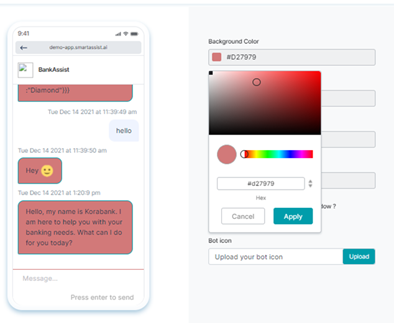
Body Design
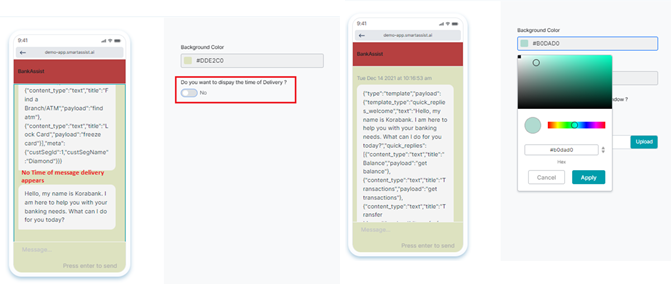
To set the background color and the time of delivery appearance in the chat window, follow these steps:
1. Tap the color code that appears below Background Color, select the color, and click Apply.
2. To view the message delivery time, change the option for Do you want to display the time of Delivery? to Yes.
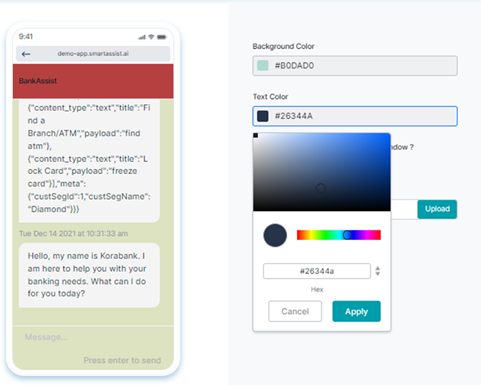
User Message
To set the background and text colors, and the user icon in the user message chat window, follow these steps:
1. For Background Color, click the color code tab, select the desired color, and click Apply.

2. To set Text Color, click the color code tab, select the color, and click Apply.
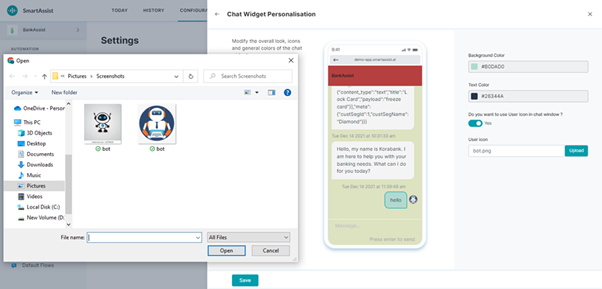
3. To view the user icon set by you, change the Do you want to use User Icon in the chat window? option to Yes.
![]()
![]()
4. To update the user icon, click Upload, and select the image.
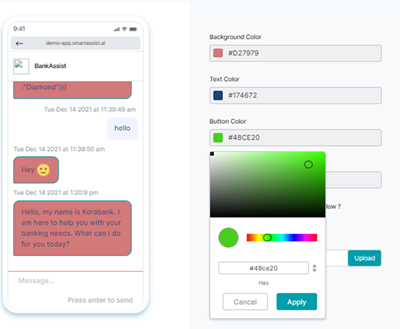
Bot Message
This feature helps change the background, text, button, and button text colors, and the bot icon in the chat window.
To configure Bot Message, follow these steps:
- Set the Background Color, Text Color, Button color, and Button Text Color To configure these options, follow these steps:
- Click the color code tab.
- Select the desired color
- Click Apply.


2. Change the Do you want to use Bot Icon in the chat window? option from No to This will display the bot icon in the chat window.
![]()
3. Click Upload and select the image to update the bot icon.
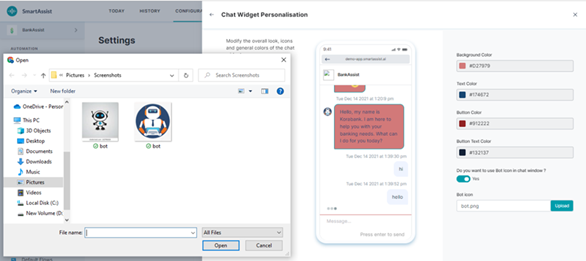
4. After configuring each section, click Save.

5. A success confirmation message is displayed confirming the updates.