The Hours of Operation feature helps set and configure the hours of agent services available to customers based on the defined business operating hours, non-operating hours, and holidays.
Add Hours of Operation
To add the Hours of Operation for your business, follow these steps:
1. On the left pane, click Hours of Operation under the ROUTING.
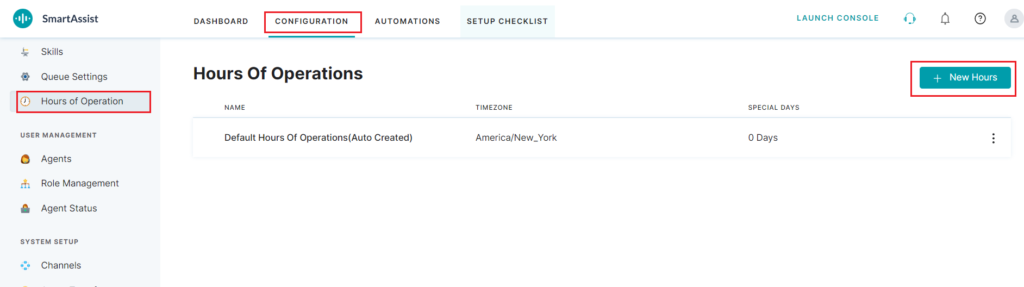 2. Click + New Hours to add a new Hours of Operation entry.
3. In the New Hours of Operation window, enter the data for the following fields:
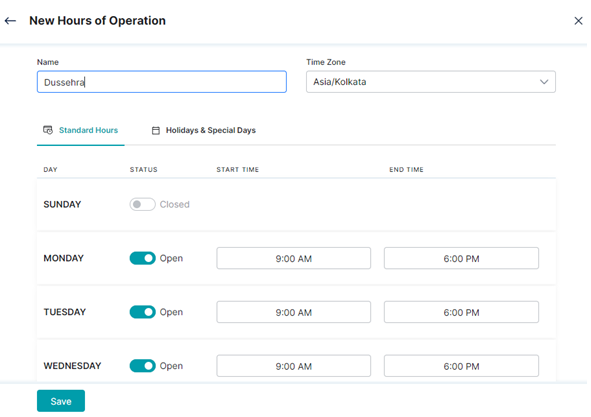
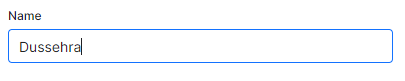
- Name – Add a name based on type or classification to identify the Hours of Operation profile. For example, Official Working Hours.
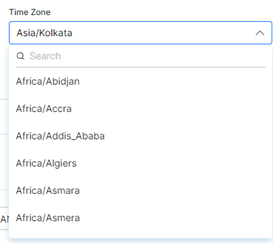
- Time Zone – Select the time zone from the list to set the hours of operation.
- Standard Hours Tab – Set the standard working hours explicitly or opt for the pre-selected hours (9 AM to 6 PM). By default, the status is set to open for weekdays and closed for weekends. The status for Saturday or Sunday can be enabled or disabled.

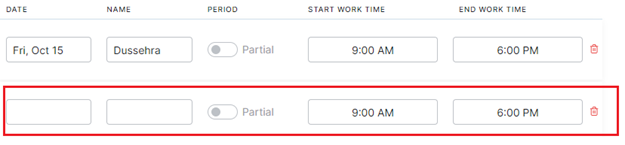
- Holidays & Special Days Tab – Set the date, Name, Period, Start Work Time, and End Work Time for holidays or special days. To add a new entry, click the + Add New button.

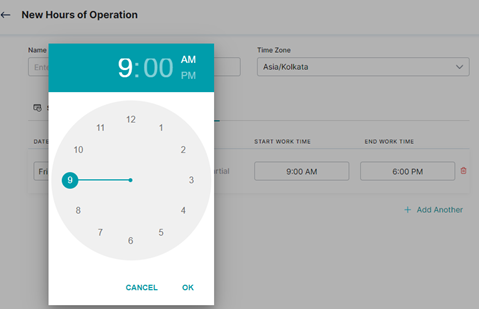
- First, provide the date and name and either enable or disable the Partial hours of operations for the default Start Work Time – 9:00 AM and End Work Time – 6:00 PM. This time can be reset using the clock widget shown below.

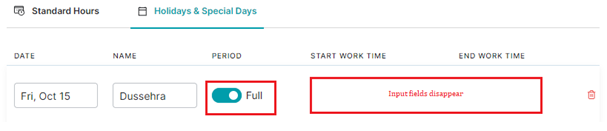
- The duration for a Holiday or special can be set to Full day, or change the switch from Partial to Full which removes the Start Work Time and End Work Time input fields.
4. Click the delete icon to delete an entry.
![]()
To add a new data entry row, click +Add Another.
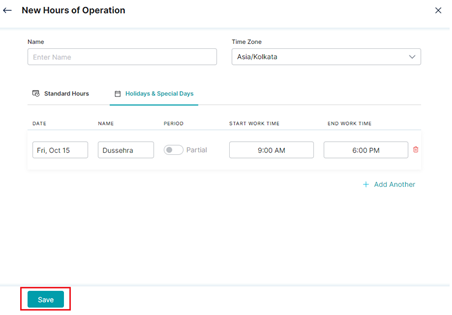
5. Click Save after providing the field value inputs.
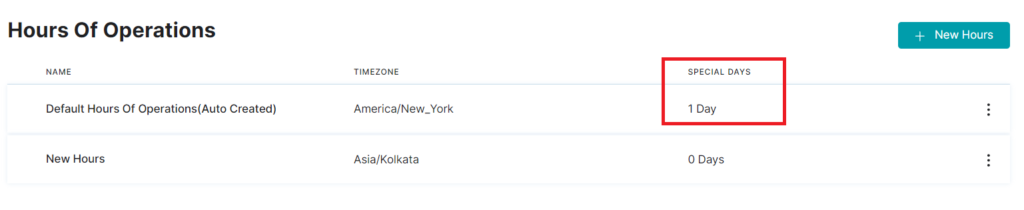
The new entries are listed in the Hours of Operation main page.
Edit Hours of Operation
To edit the data in the Hours of Operation section, follow these steps:
1. Click the vertical ellipsis (dotted) icon of the entry you wish to edit, and click Edit.

2. In the Edit Hours of Operation window, modify the required information for Name, Time Zone, and the Standard Hours, and Holidays & Special Days options; and click Save.
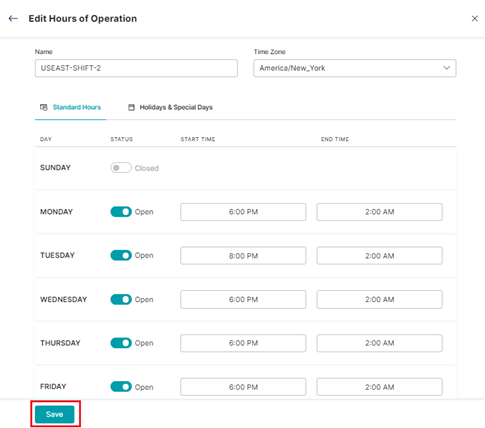
3. The edits made are displayed for that entry in Hours of Operations page.
Delete Hours of Operation
To delete an existing Hours of Operation entry, follow these steps:
1. Click the vertical ellipsis (dotted) icon of the entry you wish to delete and click Delete.
 2. Click Delete button on the confirmation pop-up. A success confirmation message is displayed .
The deleted Hours of Operation entry is removed from the list.
Note: If the Hours of Operation entry is mapped to one or more agents, you cannot delete it.