For a given use case flow, you can select the voice and chat agents to whom outgoing calls are transferred.
You can configure the following options for this setup:
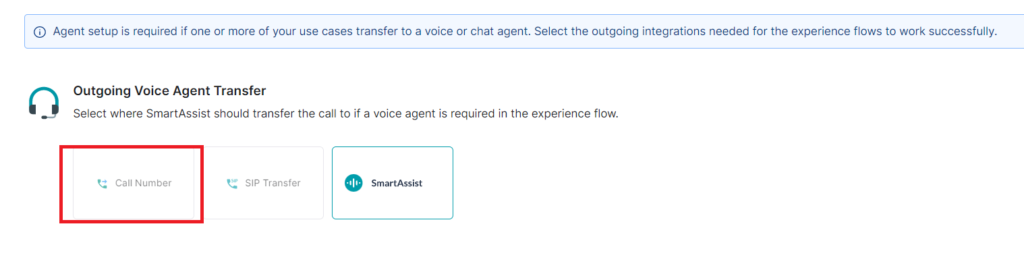
Outgoing Voice Agent Transfer
This feature helps set up a dedicated number or SIP to transfer calls to a voice agent. To configure the transfer, follow these steps:
- Go to System Setup > Agent Transfer.
- Select one of the following options:
a. SmartAssist, to route all the calls to the SmartAssist Desktop.
b. Call Number to set a phone number to which calls are transferred. To configure this option, follow these steps:
- Click the Call Number tile.
- In the Call Number to Voice Agent window, type the number along with country code in the Transfer to Phone Number textbox, and click Done.
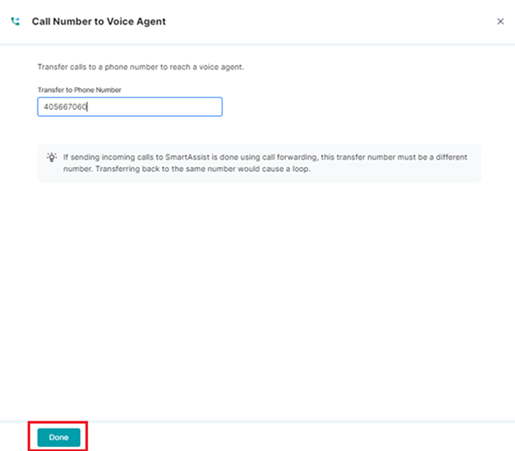
- A success confirmation message is displayed when the call number is updated.
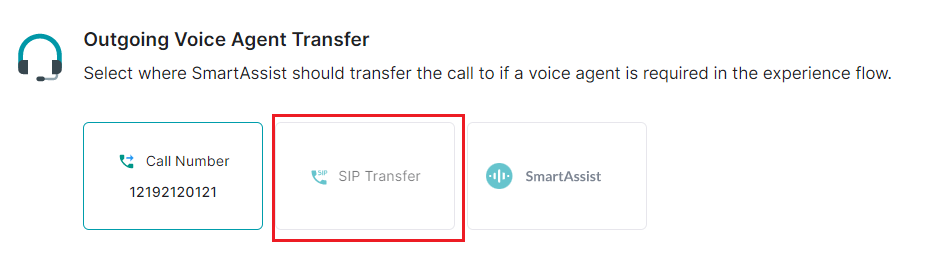
Set up SIP Transfer
- SIP Transfer: Lets you configure the SIP settings for call transfers. To configure this option, follow these steps:
- Click the SIP Transfer tile under Agent Transfer.
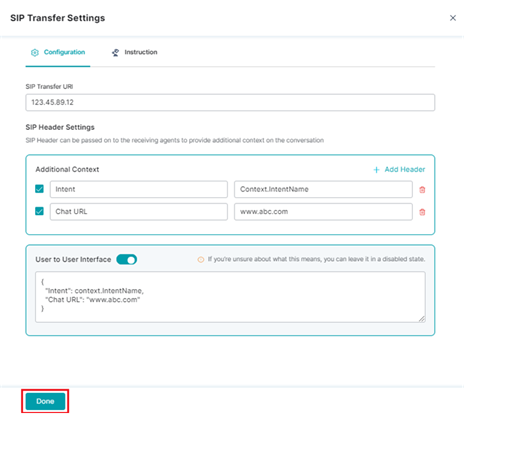
- In the SIP Transfer Settings window, click Configuration, and follow these steps:
- Provide the SIP Transfer URI.
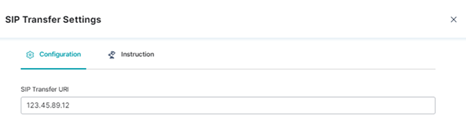
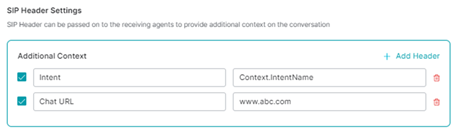
- For SIP Header Settings, provide the SIP header name and URL under Additional Context.
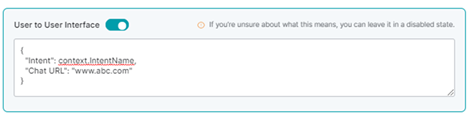
- (Optional) Enable User to User Interface to set the intent and user interface URL for SIP transfer.
- Click Done.
- Provide the SIP Transfer URI.
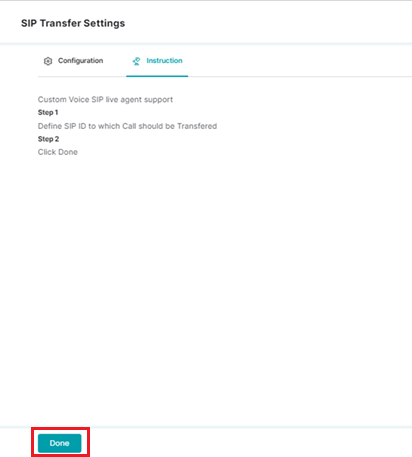
- Click the Instruction tab to view the Custom Voice SIP live agent support steps, and click Done.
- Click the SIP Transfer tile under Agent Transfer.