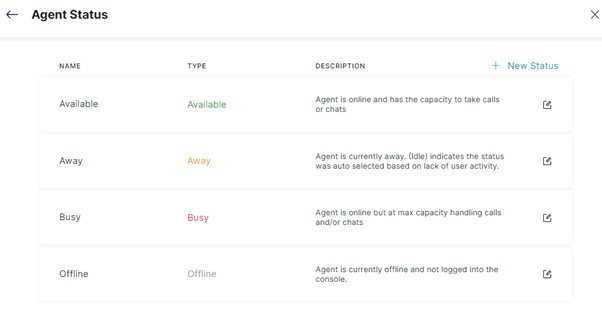
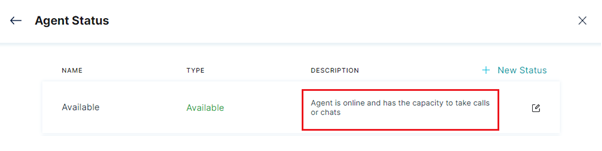
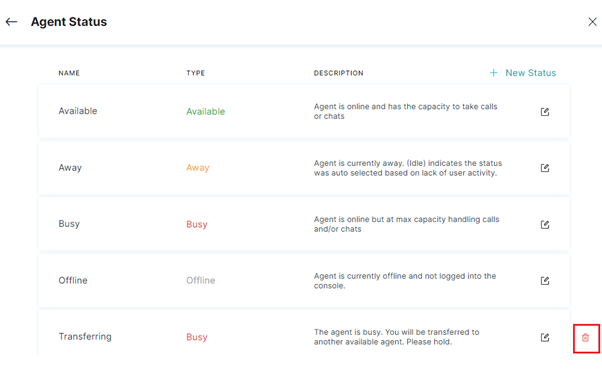
This page displays various statuses of the Agent like available, offline, busy, or away, along with a brief description for each status. You can add a new status and edit or delete the existing statuses on this page.
Add Agent Status
To add a new agent status, follow these steps:
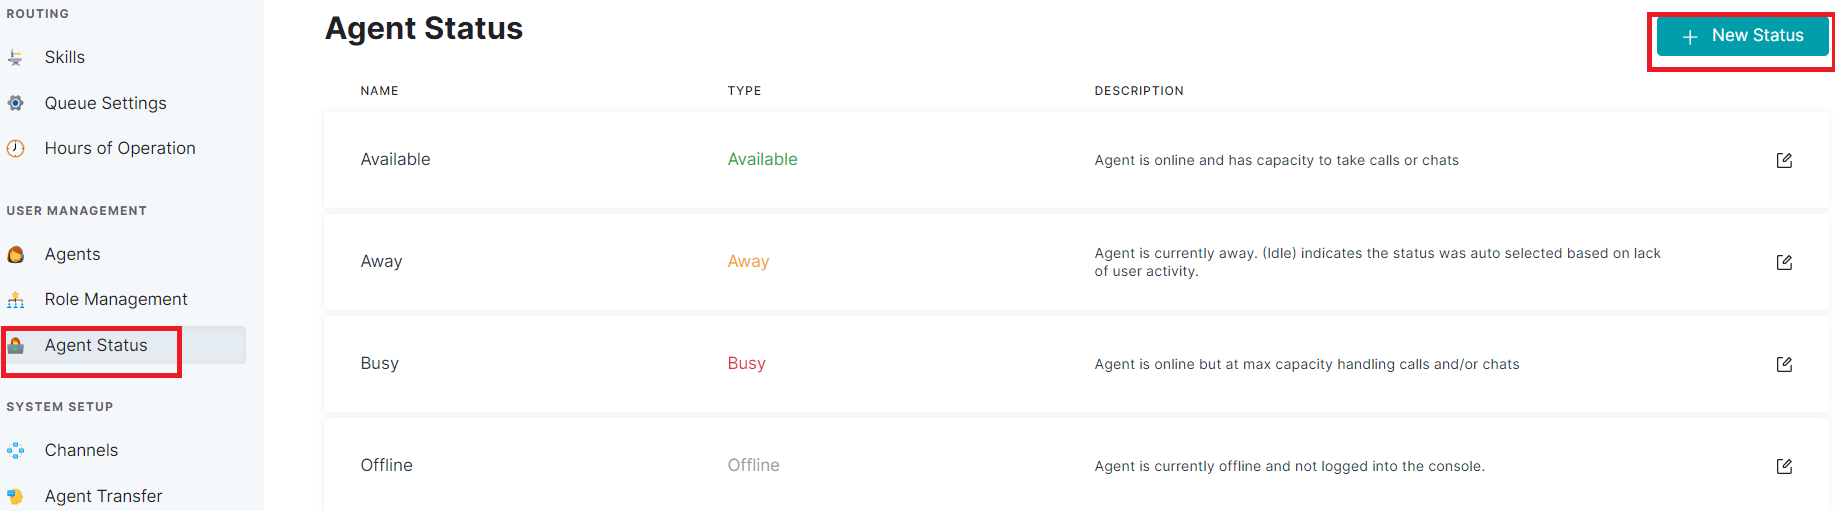
1. On the left pane, click Agent Status under User Management.
2. In the Agent Status window, click + New Status.
3. In the New Status window, enter the following details:
- Status Name – Enter the status name.
- Status Type – Select the status type: Away or Busy.
- Description – Type in a brief description for the status.
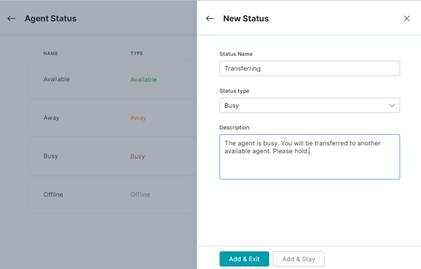
4. Click Add & Exit to add the status and exit the window or click Add & Stay to add the status and continue.
5. The status created successfully success message is displayed in the window.
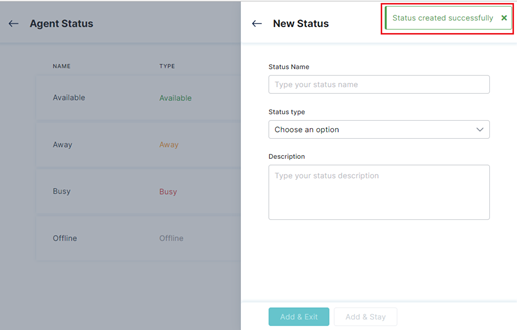
6. The new status is added to the Agent Status list.

Edit Agent Status
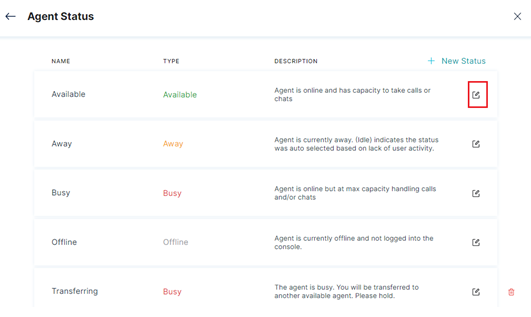
To edit an existing Agent status entry, follow these steps:
1. In the Agent Status window, click the edit icon of the Agent Status you want to modify.
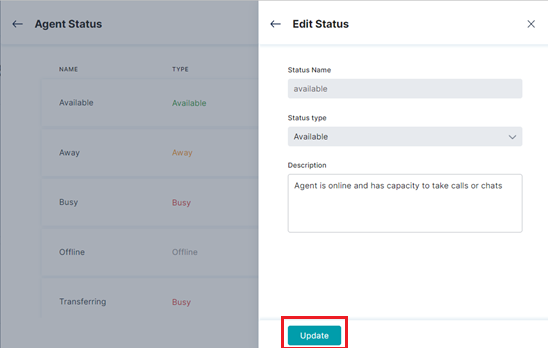
2. In the Edit Status window, edit the Status Name, Status Type, and/or Description values, then click Update.
3. The Status updated successfully message appears in the window.
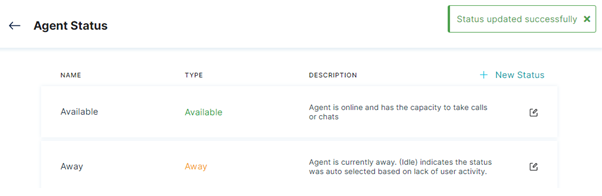
4. The modified values reflect in the Agent Status window.
Delete Agent Status
Note: The system lets you delete a custom Agent Status but not the default values.
To delete an existing Agent status entry, follow these steps:
1. In the Agent Status window, click the delete icon of the desired Agent Status
2. Click Yes in the Deletion confirmation window.
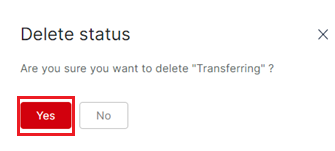
3. A success status message is displayed when the agent status is deleted.

4. The deleted Agent Status is removed from the Agent Status list.