Weights help in evaluating the score of the search results. By fine-tuning the weights assigned to the fields defined in the Index Management, search relevance can be improved (see here for Fields Management). Assigning weights to the fields makes the fields searchable i.e queries will be matched with the values on these fields and help determine the significance of these fields while evaluating the search results.

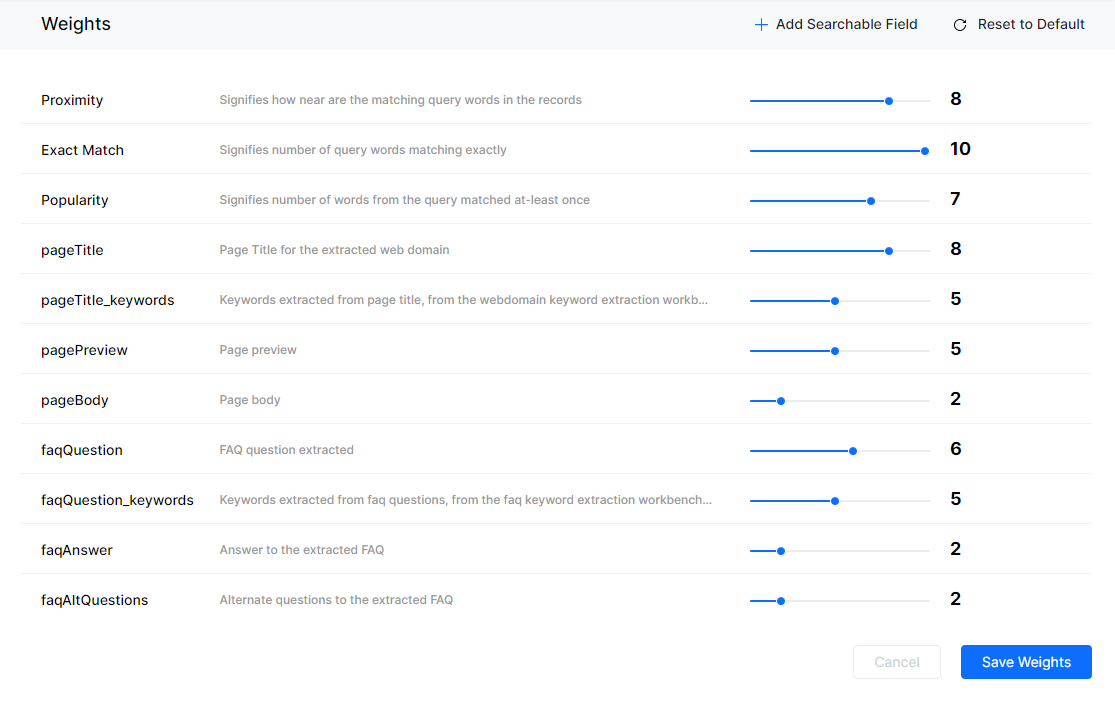
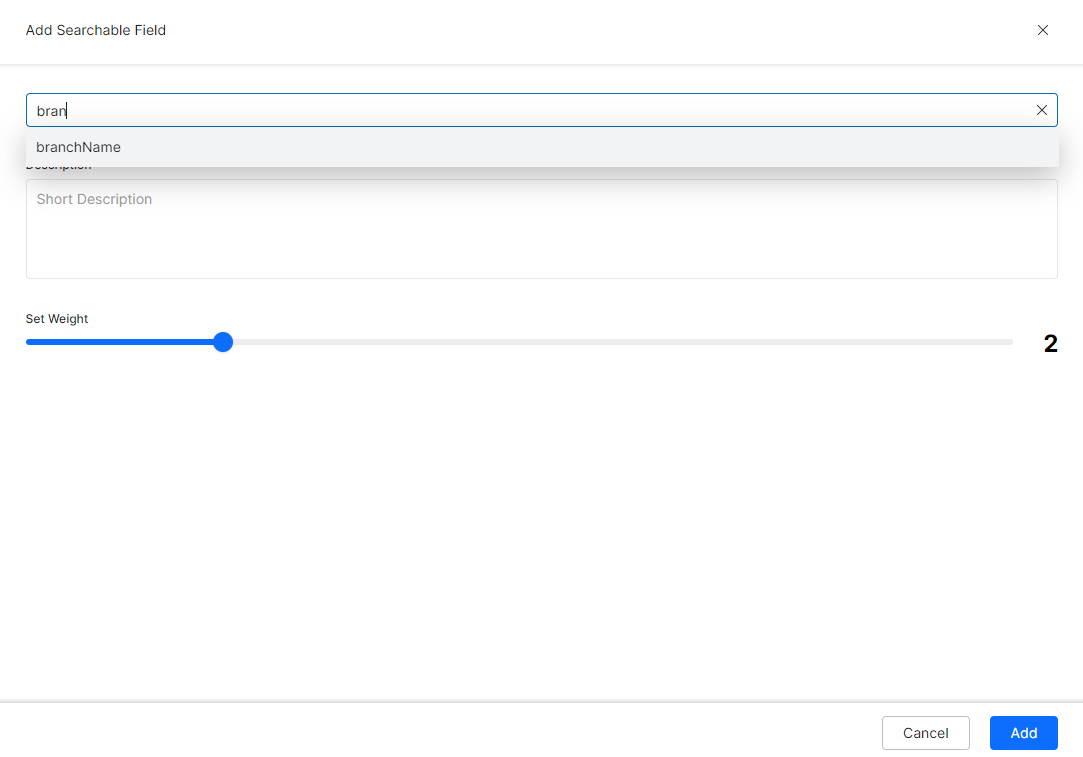
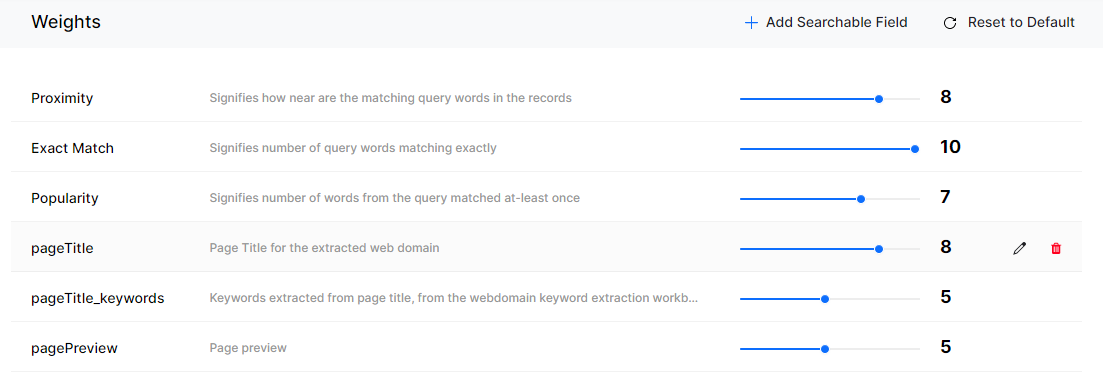
By default, SearchAssist identifies a list of system-defined searchable fields like Proximity, Exact match, Popularity, and much more from the extracted documents and assigns weights to them. You can change the weights of the system-defined fields or add new searchable fields to tune the search results.

Each field is assigned a weight value between 0 and 10. Increasing the field’s weight increases its significance. For example, consider geographical content with an article titled Earth and Evolution. A user searching for the word earth should wind up in this article. However, the word earth appears often in other articles and those may not turn up due to higher word match count. If the title field carried more weight, the chance of discovering the Earth and Evolution article is higher. 

On the weights page, you can add various fields and change the weight settings. You can try adding a few sample queries in the search bar and fine-tune your weights until the expected results appear.

Note: Refer to Results Ranking and Synonyms to improve the search relevance.

Add Fields

To add a searchable field, follow the below steps:

  1. Click the Indices tab on the top.
  2. On the left pane, under the Search Configuration section, click Weights.
  3. On the Weights page, click Add Searchable Field on the top-right.
  4. On the Add Weight dialog box, search for a field in the search bar and select it. 
  5. Enter a short description in the Description field.
  6. Under the Set Weight section, you can drag the slider to set the weight from 0 through 10.
  7. Click Add to List.

Actions

You can perform the following actions:

  1. Change the weight using the slider to increase or decrease the weight.
  2. For custom fields, click the edit icon to update the description for the field.
  3. For custom fields, click the trash icon to delete the field.
  4. Reset the weights using the Reset to Default option. This reverts weights configuration to the system default state:
    • All the custom fields configured by you will be removed.
    • Any system-defined weights that you removed will be restored.
    • The weights assigned to each of the system-defined fields will be restored to the original default values.

Leave a Reply

Your email address will not be published. Required fields are marked *

Fill out this field
Fill out this field
Please enter a valid email address.
You need to agree with the terms to proceed