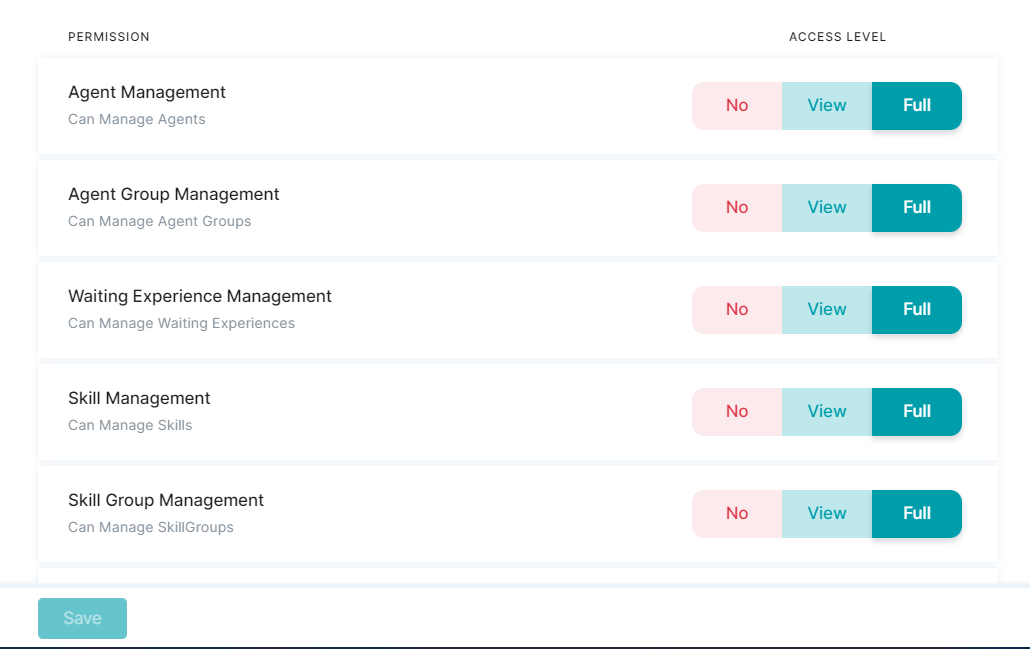
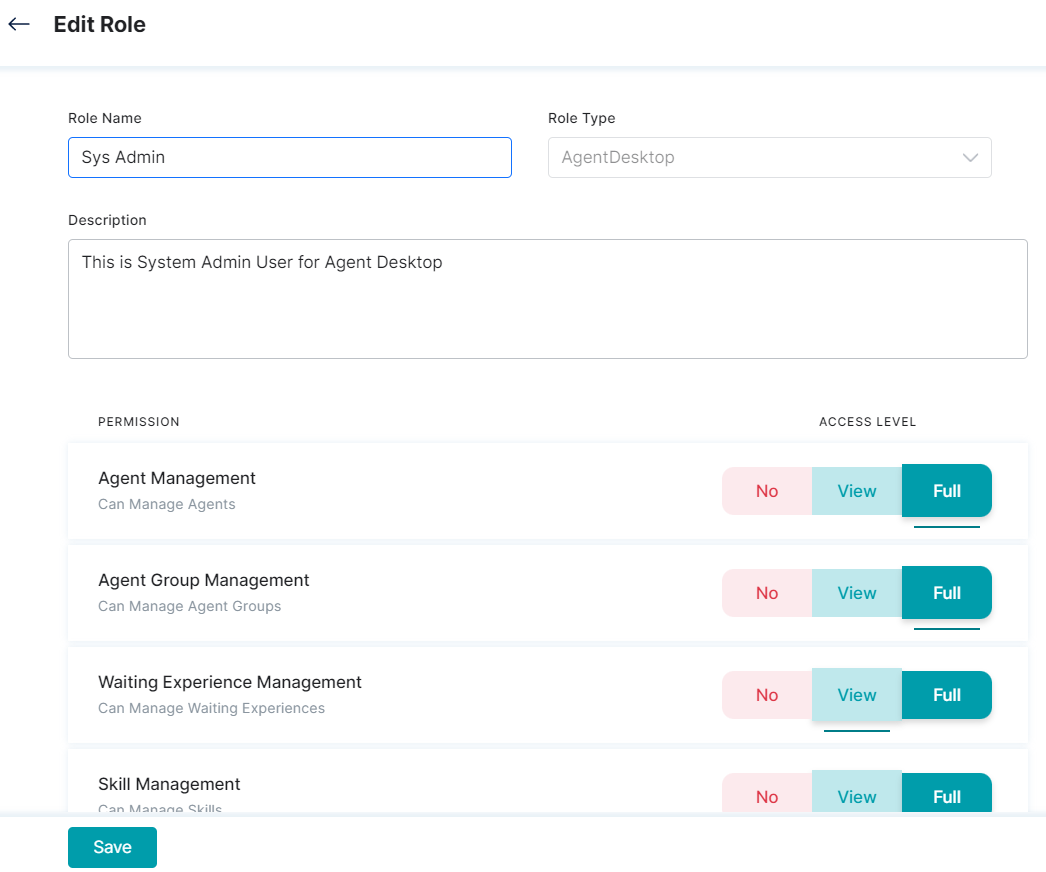
A Role designates the permissions and the user’s level of access to the features of the Agent Desktop. Based on the role, a user can either have or not have access, have view-only access, or full-access (both view and edit). The Role Management feature lets the user create roles and set the access level for various Agent functionalities.
Add a New Role
To add a new role, follow these steps:
1. On the left pane, click the Role Management menu option under the User Management.
2. Click + New Role.
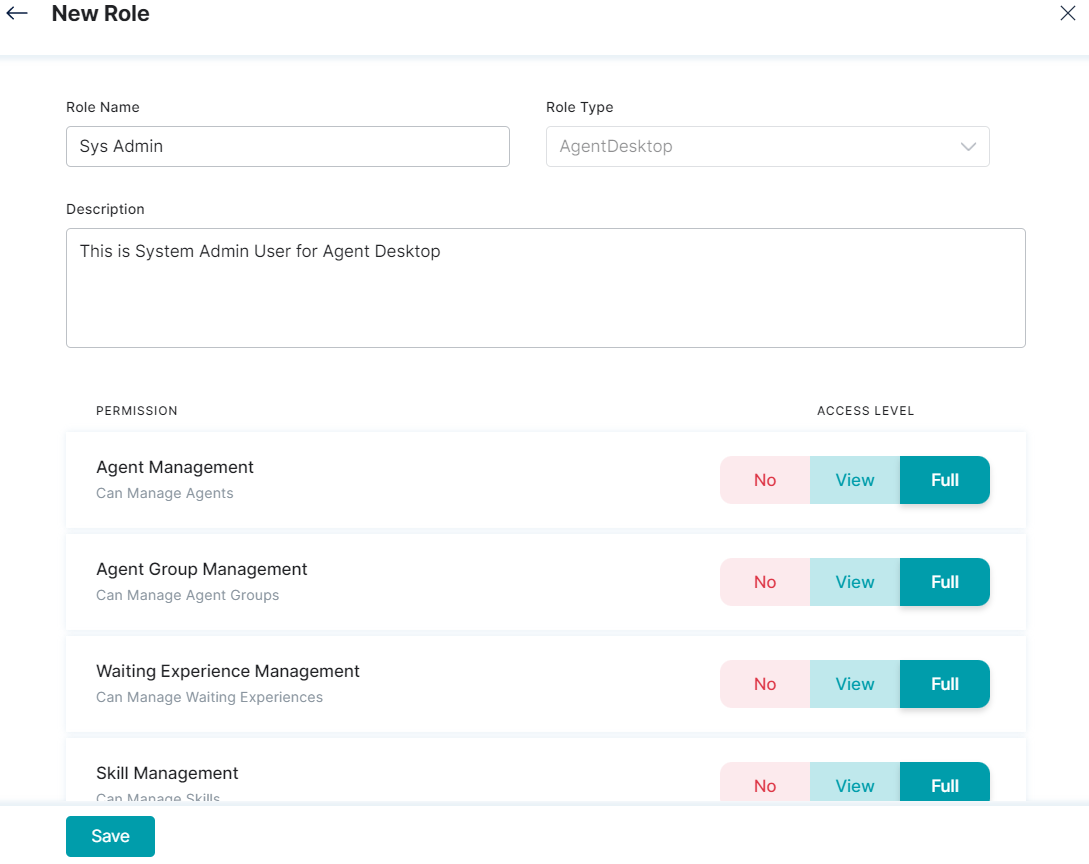
3. In the New Role window, provide inputs for the following fields:
- Role Name – This name is assigned to an agent role (for example: administrator, system admin, developer).
- Role Type – Select an option from the drop-down list (the default selection is Agent Desktop).
- Description – Add the purpose and other information for roles and the responsibilities.
- Permission – Set the dashboard access controls permissions by selecting either No, View, or Full.
- No for no access permission.
- View for only view access permission. and
- Full for full access (view and edit) permission.
4. Click Save.
Delete a Role
To delete a role, follow these steps:
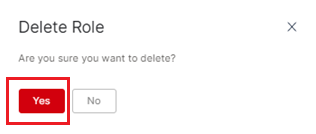
1. Click the delete icon of the custom Role Management entry that you wish to delete.
2. Click Yes on the confirmation window.
3. Upon deletion a success confirmation message is displayed and the role is deleted from the list.
Note: The predefined Agent Admin and Admin roles cannot be edited or deleted.


