To get started with handling your contact’s use cases through conversation flows. you need to create a Bot first. After creating a bot, you can add agent groups, agents, skill groups, skills, etc.
To create a Bot, follow these steps:
- On the left-hand menu, click the “>” icon and the + New Bot menu item.

- Click the Create New Bot tile in the following selection window.

- In the Create a New Bot window, provide the SmartAssist Bot Name, and select the Default Bot Language from the dropdown list.
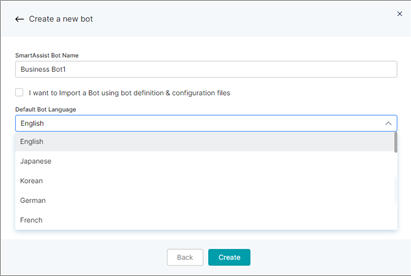
Note: Check the option shown below if you want to import pre-existing bot definition and configuration files.

- Select the relevant Bot Definition, Bot Config, and/or Custom Script files from your system or business cloud by clicking Choose File, and import them by clicking Import.

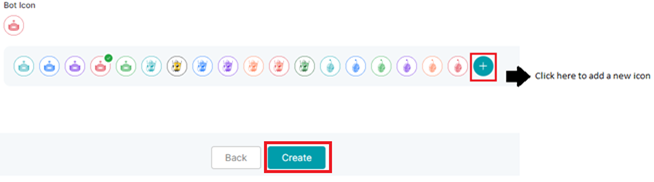
- Select and upload an existing .png file or add a new icon for the bot icon image, and click Create.
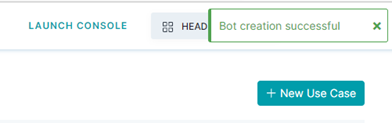
- A success confirmation message appears once the bot is created.